

This recipe has been a prize winner at our home on Thanksgiving for many years. We can go without other traditions and newer ideas but Mama cannot forgo the potato rolls. I always begin to make them the morning of Thanksgiving so they have plenty of time to rise and still have them hot and ready out of the oven by dinner time. Of course, we aren't an early afternoon dinner time people-so I'm talking 6 o'clock dinner time-at the earliest! In my house, crazy as it may sound to many Americans, we have only one oven and and, yes, I cook nearly everyday for at least 8-10 people. I'm thankful for my one oven while many people have two, and yet others and many places have none. I know that I am blessed with a very convenient kitchen. Still, when it comes to holidays and events and my girls having their ideas for baking and cooking, we have to literally create an oven schedule so that everything gets done in time. It makes for good planning skills! Sometimes, a cake or dish has to finish up in mormor's oven-thankfully, she lives only a mile away.
Of course, this recipe can be made any time of the year. It is also good to bake in a loaf pan. All you need is a medium to large sized potato, flour and yeast and salt, and a fat and then you are ready to make the best rolls ever -and your family and friends will beg for more.

Potato Rolls
One medium to large size potato peeled and cubed2 packages of dry yeast- one package equals 2 1/4 teaspoons of dry yeast
2 tablespoons of sugar
1 tablespoon of coarse sea salt
2 tablespoons of shortening or butter
6 1/3 - 7 cups of flour-depends of the size of the potato and the moisture added with it.
In a small pan cook the potato in 1 1/2 cups of water until tender. Cool until lukewarm. Set aside a 1/2 cup of the liquid.
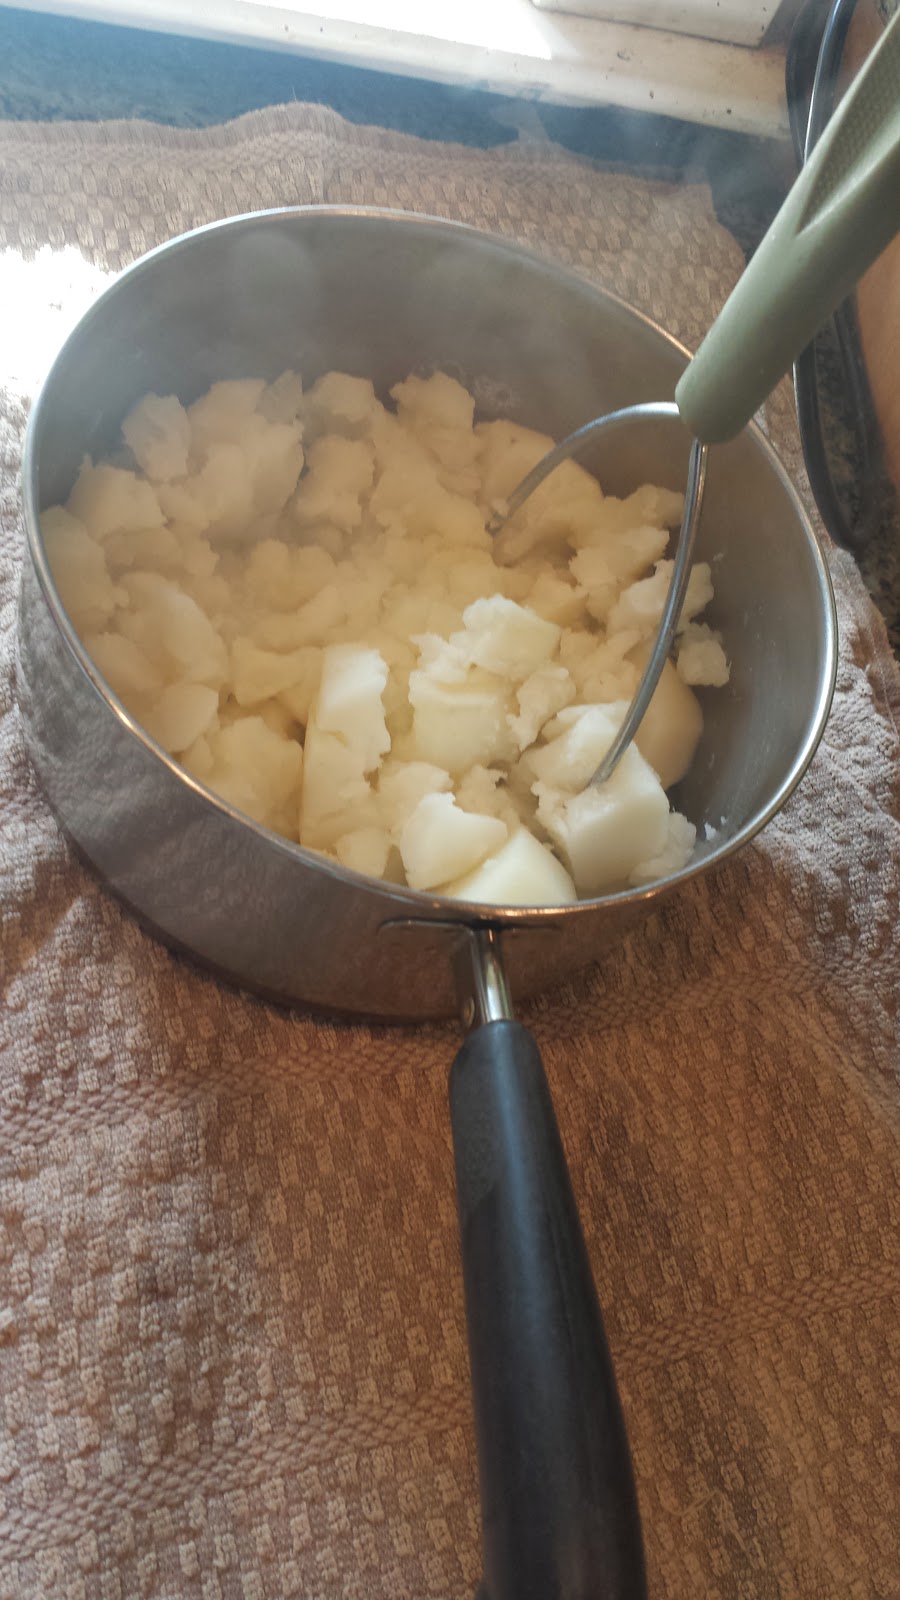 |
| hand mash the cooked potato |
 |
| reserved liquid-this is a doubled portion |
Mash the potato in the remaining liquid and add water as need to make 2 cups of potato water mixture.
Soften the yeast in the reserved 1/2 cup of the cooking liquid.
Combine the potato mixture,sugar, shortening or butter, and one tablespoon of sea salt in the mixer bowl. Mix well, then stir in 2 cups of the flour. Beat this well , then cover and lt rise till about double. It will be very wet and sticky.
 |
| yeast dissolving in potato /water |
 |
| rising up!! |
 |
| this is what makes bread making so rewarding |
 |
| the quiet, hard working mixer! |
Shape the dough into a ball and cover with a towel and let rise till double-about 45 minutes.
 |
| this is exciting when it peeps out from under the towel |
 |
| rising on the baking sheet |
These are also great for small sandwiches a day later-if there are any leftover!
Potato Stamp Art Project
Here's an idea for a simple homemade card or art project: the potato stamp. My kids have made so many of these while I was working away in the kitchen, it's also good lesson in printmaking, It costs next to nothing, and it is fun and gives the kids a chance to carve a bit. This is suitable for kids who can handle a somewhat sharp knife. An older person can always help.
First select a potato that has a wide mid section. Think Mr Potato Head! Then wash it up and dry off. Cut it in half. Then draw your design with a sharp pencil. Think about what will be left over to make the image. This is a good lesson in printmaking because it makes you think about what is taken away that will be the white and what remains that will pick up the ink or paint. I like this because my kids and I began to see illustrations in books in a whole new way. We also would do pen and ink drawings and really have to think about what the ink would show-and what the absence of ink would create.
Then, dry off the stamp and use either an ink pad or brush on paints lightly to your image -make sure you don't fill in the cracks. Then stamp down on the paper. After a few tries you will see that improvements will be needed in order to make the stamp flat and to make dramatic enough spaces to create the image you desire. My boys especially loved the carving part of this activity.
A basic design we started with was a heart shape for Valentine's Day. I also had the kids do their letters when learning to read. Another idea is to make their own stationary. This can progress to other printmaking and layer in the the primary colors. One fun thing to do is to first stamp with blue and wipe off the stamp and then stamp with yellow. Voila! Then we have green. I still remember how exciting it was for me to make my own green. I painted leaves and trees for days.


One of the big lessons learned with simple print projects is that the image will reverse when stamped. So....backwards letters and animals facing the opposite way teach this very well!
Ofc ourse, this recipe can be amed any time of the eyar. It is alsi good ot ake in a loaf pan. All you need is a medium to alrge sized potote, flour and yeast and salt and a fat and youa re ready to make an amazing bread taht will warm the eharts of your people.
 |
| ready by dinner time |
Potato Stamp Art Project
Here's an idea for a simple homemade card or art project: the potato stamp. My kids have made so many of these while I was working away in the kitchen, it's also good lesson in printmaking, It costs next to nothing, and it is fun and gives the kids a chance to carve a bit. This is suitable for kids who can handle a somewhat sharp knife. An older person can always help.
First select a potato that has a wide mid section. Think Mr Potato Head! Then wash it up and dry off. Cut it in half. Then draw your design with a sharp pencil. Think about what will be left over to make the image. This is a good lesson in printmaking because it makes you think about what is taken away that will be the white and what remains that will pick up the ink or paint. I like this because my kids and I began to see illustrations in books in a whole new way. We also would do pen and ink drawings and really have to think about what the ink would show-and what the absence of ink would create.
Then, dry off the stamp and use either an ink pad or brush on paints lightly to your image -make sure you don't fill in the cracks. Then stamp down on the paper. After a few tries you will see that improvements will be needed in order to make the stamp flat and to make dramatic enough spaces to create the image you desire. My boys especially loved the carving part of this activity.
A basic design we started with was a heart shape for Valentine's Day. I also had the kids do their letters when learning to read. Another idea is to make their own stationary. This can progress to other printmaking and layer in the the primary colors. One fun thing to do is to first stamp with blue and wipe off the stamp and then stamp with yellow. Voila! Then we have green. I still remember how exciting it was for me to make my own green. I painted leaves and trees for days.
 |
| draw a simple outline |
 |
| Stefan loved to use his carving tools |
 |
| paint on color or use an ink pad |
One of the big lessons learned with simple print projects is that the image will reverse when stamped. So....backwards letters and animals facing the opposite way teach this very well!
Ofc ourse, this recipe can be amed any time of the eyar. It is alsi good ot ake in a loaf pan. All you need is a medium to alrge sized potote, flour and yeast and salt and a fat and youa re ready to make an amazing bread taht will warm the eharts of your people.
No comments:
Post a Comment